
How to Make a Spring Bird Garland with Cricut (Step-by-Step Tutorial)
Are you ready to add a touch of spring to your mantel? Today, I’m going to show you how to make a 3D spring bird garland with your Cricut machine.
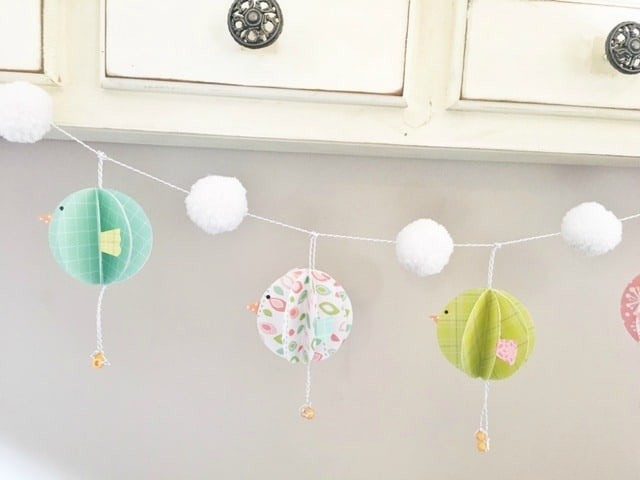
This garland is so easy to make, and you can use any color or patterned paper you want to create your 3D paper birds. These would also be adorable as a mobile in a nursery.
How to Make a Paper Spring Bird Garland
I am going to use my Cricut machine to make this garland. You can use any Cricut machine to make this garland, from the Joy to the Venture.
If you don’t own a Cricut, you can use scissors and cut out each circle by hand. You’ll want to make sure they are all the same size.
Let’s look at the supplies we need to make our spring bird garland.
Supplies Used to Make a Spring Bird Garland
- Cricut Machine
- LightGrip Mat
- Fine Point Blade
- Patterned or Solid Colored Paper
- Glue Stick or Tape Runner
- Twine
- Yarn for Pom Poms
- Pom Pom Maker
- Orange Pony Beads
- Black Marker
- Embroidery Needle
Step 1. Cut Out Circles with Cricut (or scissors)
The first thing we’re going to do is cut out 8 4-inch circles for each bird. You can do this with your Cricut machine or cut them out by hand with a pair of sharp scissors.
Repeat this process for each bird.
The Cricut Design Space file is set up for one bird. If you want to make more than one bird, you’ll need to make a copy of the design for each bird.
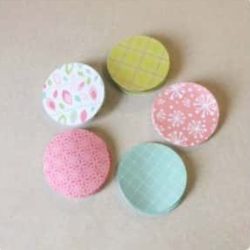
Step 2. Fold Circles in Half
Fold each paper circle in half with the patterned side you want to show on the finished bird on the inside. If your patterned paper is only one-sided, fold that to the inside.
If you’re using a Cricut machine, the score line is part of the design. Make sure you fold it on the score line.
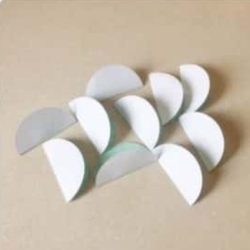
Step 3. Cut Out the Orange Beak
Again, the Design Space file includes the beak piece. If you are not using the Cricut file, you’ll need to cut out two small triangles for the bird’s beak. I used orange polkadotted paper for my beak piece.
Step 4. Assemble the Bird
Now, we’re going to start assembling the bird.
First, we want to glue the two beak pieces together. Make sure the colored side is facing out.
Next, we’re going to start gluing the folded circles together. Sandwich the beak between two circles and glue it all together. Stack the next circle on top and glue that one in place. Continue until all eight pieces are glued together and stacked on top of each other.
Repeat this process for the next bird.
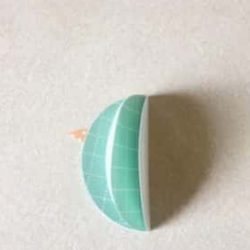
Do not glue the two ends together yet.
Step 5. Prepare the Twine
The length of cord/twine you need will depend on how long you want the legs and how low you want them to hang from the top.
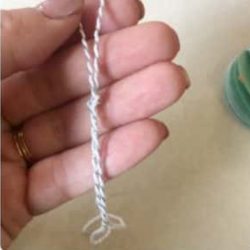
Fold the twine in half and tie a knot in it at the length you want your feathered friends to hang from the top. The bird’s body will sit on top of the knot to keep it from sliding down.
Step 6. Add the Beads to Create the Feet
Use a pair of scissors to cut the bottom of the twine to create 2 legs.
Run the twine through the bead and tie a knot around it to hold it in place.
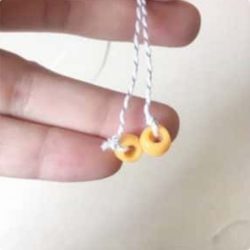
Cut away any excess cord from the feet.
Step 7. Attach the Bird to the Twine
Next, we need to add the bird’s body to the string.
Lay the bird’s body flat and place the twine down the middle. Make sure the knot is at the bottom of the body.
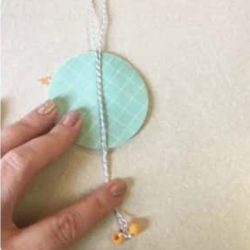
Add glue to both wings and attach them.
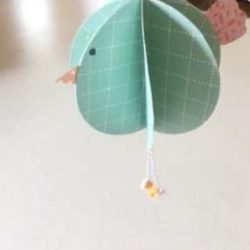
The finished bird looks kind of like those birds with tissue paper honeycomb bodies.
Step 8. Finish the Bird
When everything is dry, use a black marker to add a little dot right above the beak for an eye.
Add the little wing piece to each side of the bird. You can do like I did or add one to the back like a little tail feather.
Step 9. Create the Garland
My garland was created by stringing some pom poms onto baker’s twine. You can add however many you want. I kept all of mine pretty spaced apart.
You want your string to be at least the length of where you want to hang it. I always add an extra foot so I have room to move things if I need to.
Step 10. Finish the Spring Bird Garland
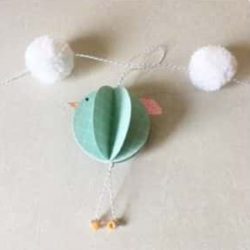
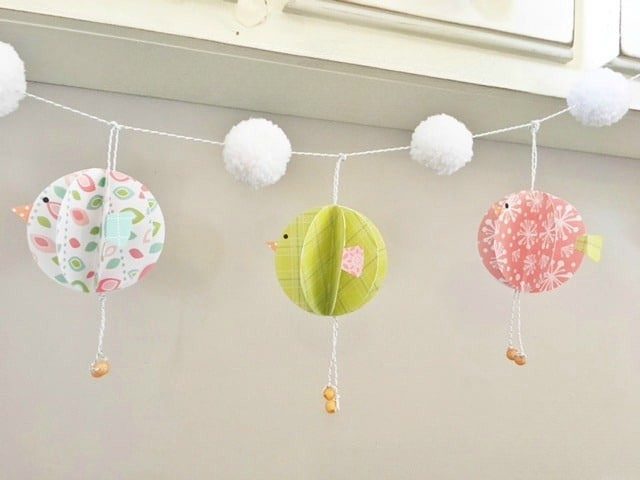
The last step is to tie the birds to the string between the pom poms. Simply tie a knot onto the garland, and you’re good to go!
This garland is a great decoration that’s very easy to make, especially if you use your Cricut machine.
Final Thoughts on Making a Spring Bird Garland
I love how my paper bird garland turned out. It’s so cute and such a fun way to celebrate the Easter and spring seasons.
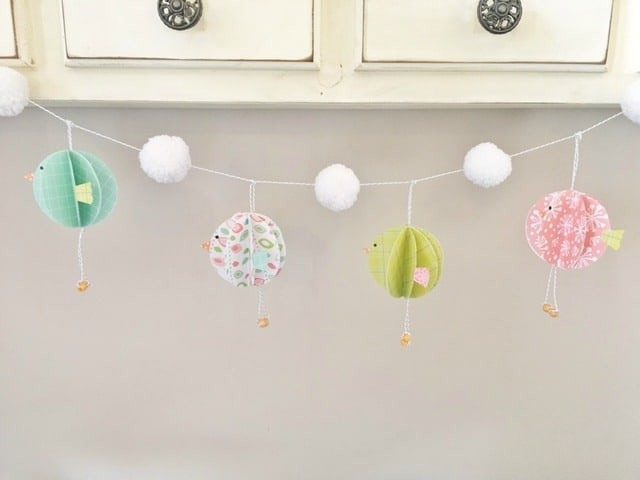
I also think these would make a fabulous gift or a party decoration for a baby or bridal shower. Who wouldn’t love to have these cute little 3D birds in their home?
I bet there is a solid chance you have everything at home to make your own today.
I hope I’ve answered any questions you have about making your own bird garland. If you have any additional questions, leave them in the comments, and I’ll be happy to answer them for you.
This tutorial was originally found on Creative Housewives and has been updated to include new information.
The bird garland is so cute! Perfect for a baby’s room! Thank you for sharing.
It would be so cute in a nursery! Thanks 🙂
The garland is so cute! Perfect for weddings, showers, birthdays, etc!!!
Thank you 🙂 I love it!
These are adorable and look pretty easy to do! My daughter would love these! Thank you for sharing your knowledge with great pictures also! 😀
Much easier than I originally thought!!
Love your creative ideas!
Thank you so much 🙂
The birds are so cute, such an innovative project.
Thank you!
These are so cute! I can’t wait to learn more.
If you make them, I’d love to see how yours turns out 🙂
This is so cute for spring and summer celebrations!
Thank you!
Cute
Thank you!
Super cute!!! Thank You!!
Thank you 🙂
I think the garland is adorable and may try to do one for next spring
Thank you. If you make one, I’d love to see it!
Jenn is an awesome instructor. Her tutorial has clear, easy to follow instructions and I love that she provides options for changing things up.
Thank you so much! I really appreciate it 🙂
I love this! So simple, but such a beautiful addition
Thank you! I’m a big fan of simple and cute projects 🙂
Perfect for SPRING – and great for a ladies’ craft group
It would be so fun to do with a group!
This is so creative and cute. Hope to do it next season. TY
Thank you 🙂 If you make one, I’d love to see it!
So cute.
Thank you.
Looks like a fun project I can do with my grand kids, thanks for posting it.
You’re very welcome! Thanks for stopping by 🙂
Your ideas are so cute, thank you!
Thank you!
My Granddaughter’s will love this! Spring Bird Garland
If you make one I’d love to see it 🙂
love your work
Thanks so much.
This is a cute project.
Thank you!
excellant video on the three ways to subliminate coasters
I’m so glad you liked it!
That is so cute! My first reaction was Birds? What birds? And then I saw the little beaks!! It is adorable! I think one would fit across my craft room window.
They’re so fun and subtle 🙂 That’s part of why I love it.
So cute, great for this time of year!
Thank you!
Thank you for your classes
You’re so welcome!
I’m constantly amazed at the paper crafts that can be made using Cricut. This is a simple enough project to learn, with the option to jazz it up once you learn the basics.
It’s really fun to try different things!
this is really pretty. can’t wait to make something similar for my daughter
Thank you. If you make one I’d love to see it 🙂
What a wonderful blog this is!
Thank you 🙂
Very nice! I’m new to you.
I’m so glad you’re here!
This is adorable! I would love to see these as penguins too.
Those would be so cute!
This is adorable!
Thank you 🙂
You could change it up for the seasons just by changing your colors.
You’re right. I’m thinking Red White and Blue birds would be very cute.
Great idea
Thank you!
This is adorabe! Can’t wait to try this one out.
If you make one, I’d love to see it 🙂
Awww the round birds are so cute
Thanks. I love them!
Cute project
Thank you.
Thanks for sharing your knowledge.
I’m so glad you’re here 🙂
Love your garland!
Thanks so much.
These are sooo cute!
Thank you!
That’s so super cute and great instructions so even I can follow them!
If you make one I hope you’ll share how it turns out 🙂
Thank you!
Thank you for being here 🙂
Cute!
Thank you!
Such a fun tutorial. Need these signs of Spring
I love things I can put out and leave out for a while 🙂
Love this project. Thank you for sharing
I’m so glad you like it. Thanks for being here 🙂
so cute!!!
Thanks so much.
The garland is so cute and great for or any time of the year!
Thanks. If you make one, I’d love to see it 🙂
This is so cute!
Thanks so much 🙂
Great pics and description!
Thank you.
This bird garland is absolutely adorable!! I am going to have to make one of these and display it for my granddaughter!! Thank you so much for sharing!!
Thanks so much 🙂 I hope your granddaughter likes it.
Very cute!
Thank you!
So creative!
Thanks. I’m glad you like it 🙂
So creative & cool!
Thank you.
Happy to meet you!
I’m so glad you’re here 🙂
love this!!
Thank you!
These are super cute! Can’t wait to make one!
I can’t wait to see how yours turns out 🙂
This is so cute. Love it!
Thanks! I love it too.
Cute birds!
Thank you. They’re pretty fun 🙂
Super cute! Perfect idea to make for friends upcoming shower
If you make one, I’d love to see how it turns out!
Cute!
Thanks 🙂
cute project
Thank you!
That is so cute!! I’m bookmarking it to come back before next spring!
Thank you. I hope if you make it you come back and show me 🙂
This would be cute for baby showers
You’re right. It would be really cute 🙂
Thank you for trying out all those blanks. I am not sure the white toner printer is worth it. I think DTF and UVDTF are so much easier.
I love the ease of ordering DTF and UV DTF prints. I also love having the white toner that I don’t have to worry about sitting for a while, and it allows me to make projects immediately. Kind of the best of both worlds 🙂 Thanks for watching!