Burlap Bunny Easter Reverse Canvas with Cricut Maker
Today, I’m going to show you how to create a burlap bunny reverse canvas, perfect for Easter and spring. Using the rotary blade in the Cricut Maker, this project is easy to make and takes no time at all.
If you’ve never made a reverse canvas before, you’re going to be addicted. They’re easy to make and add a touch of whimsy to any room. As soon as you make one, you’ll be looking for reasons to make more.
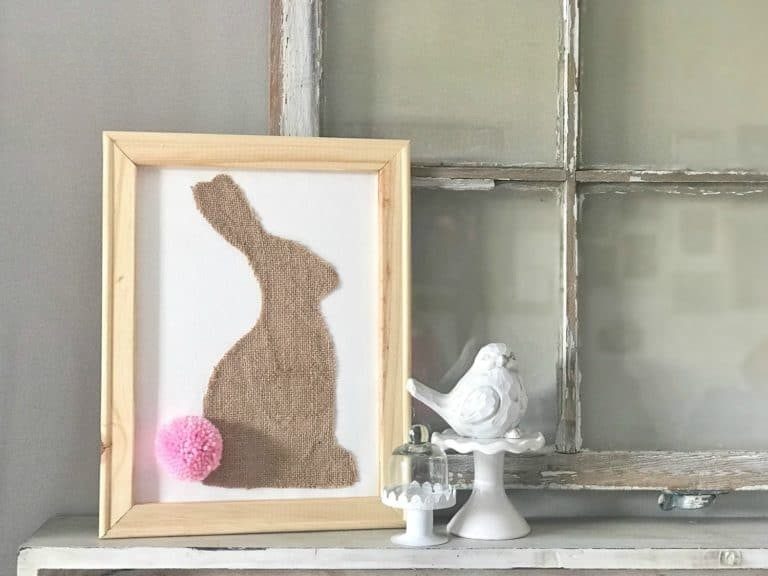
How to Make a Burlap Bunny Reverse Canvas
I love Easter decorations and decorating for this time of year. The pastel colors make everything seem so bright and fresh.
I am using my Cricut Maker with the rotary blade to make this project. You can make this project using a pair of scissors. You’ll just need to adjust the process a bit.
Before we begin, let’s look at the supplies we’re going to use today.
Burlap Bunny Supplies Used
I am using an 11″ by 14″ canvas for my project, and the bunny shape is sized for that size of frame. You can resize the design as needed in Design Space.
- Canvas
- Cricut Maker Machine
- Rotary Blade
- Bunny Cut File (this is set for an 11×14 canvas)
- Fabric Grip Mat
- Burlap
- Glue
- PomPom Maker
- Yarn
- Hot Glue Gun & Glue
- TrueControl Knife (or other razor blade)
- Brayer
Remove Canvas from Frame
The first thing we’re going to do is remove the canvas from the frame. If you haven’t made a reverse canvas yet, you’re going to be surprised at how easy this is.
To remove the canvas from the frame, on a clean surface, flip the frame over so you’re looking at the back.
Use a TrueControl Knife or another Exacto knife-type blade and run it just along the outside of the staples. Keep it close to the staples because we want to ensure the canvas we’re left with will fit inside the frame. You can also cut a slice right next to the staple and lift the canvas over the staple.
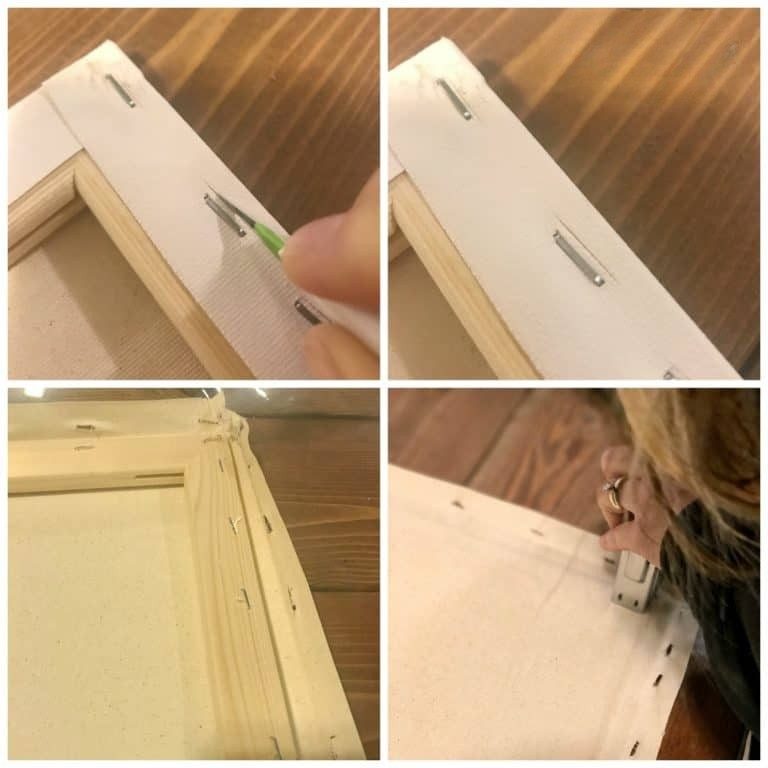
Either way works, and you will likely have extra canvas to cut away after you reattach it.
If you want to stain or paint the frame, do that now so it can dry while we cut out the bunny.
Cut Out Bunny from Burlap
First, use an iron or EasyPress to iron the burlap so it’s nice and smooth.
Next, add the burlap to the pink FabricGrip cutting mat. Use a brayer to smooth out the burlap and make sure it’s stuck down to the mat really well.
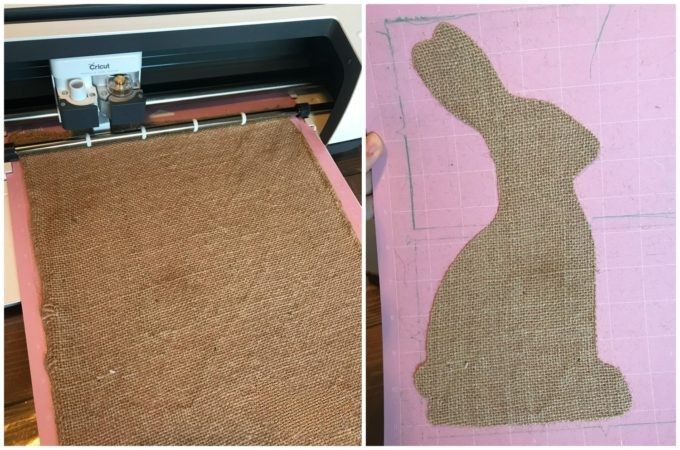
Open the bunny file in Design Space and send it to your machine.
Choose burlap as the material and load the mat into your Maker. With burlap the selected material, you’ll be prompted to install the Rotary Blade.
As you can see, the burlap cut beautifully with the rotary blade.
Gently remove the burlap from the mat. I like to flip the mat over and roll the mat away from the material vs peeling the material away from the mat whenever possible.
Apply Burlap Bunny to the Canvas
Now, we’re ready to apply the bunny to the canvas.
The first thing we need to do is make sure the canvas has no wrinkles. Go over the canvas gently with an iron. You may want to add a thin cloth over the top to protect it from any scorch marks.
I recommend starting with a low temperature and increasing it a little at a time as needed.
Place the frame over the canvas to figure out where you want to locate your bunny.
With the burlap bunny in place, gently add a little glue to the back. I used Aleene’s Tacky Glue, and it worked really well.
First, I added it to the top. Use a paintbrush to spread it out and then press the top down. Flip up the bottom and repeat the process.
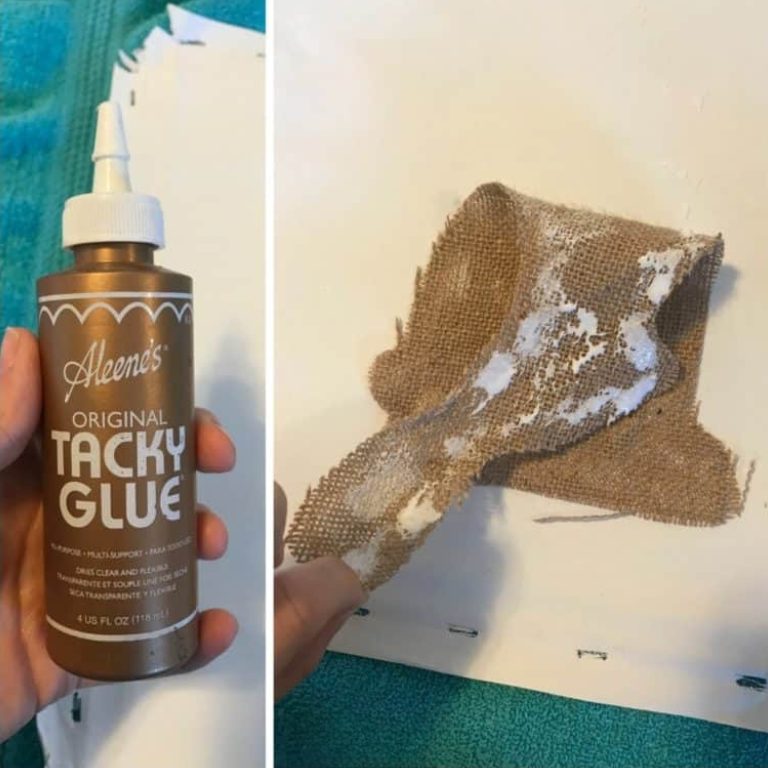
Anywhere the burlap pulled away along the edges, I used the glue to push it back into place. It worked well, and the glue dried clear.
Create a Pom Pom Bunny Tail
Have you ever made your own pom poms? A pom pom maker makes the process pretty easy. I used the small size and followed the instructions that came with it.
Essentially you’re wrapping a lot of yarn around each side and then you cut it so the cut ends create a circle.
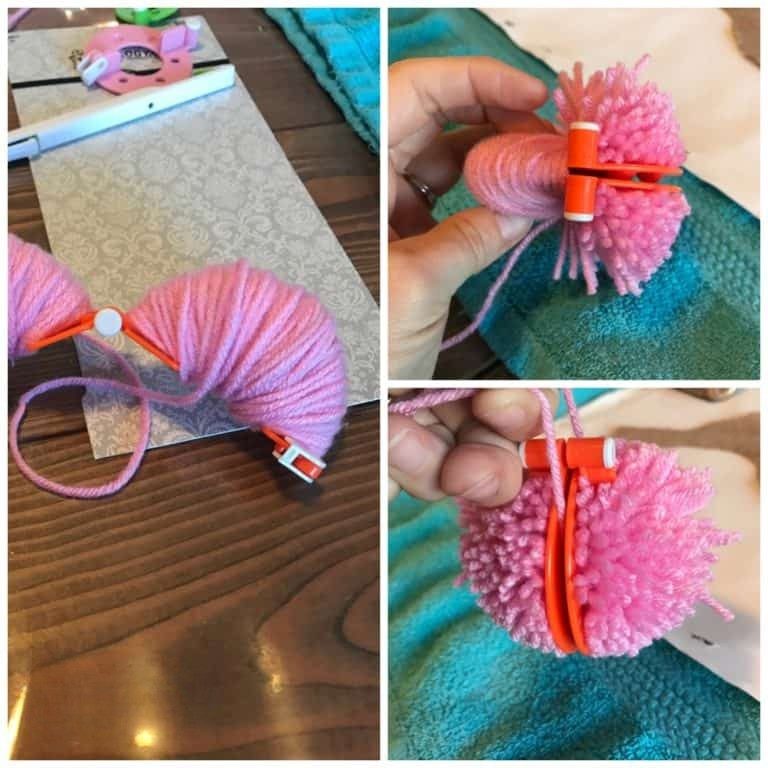
I have yet to find a pom pom maker that doesn’t require a bit of clean up to make the pom pom look like a nice ball.
You can see I tested two different sizes of pom poms. On the left is the medium and I felt like it was too large. On the right is the small size and I trimmed the ends of the yarn to make it more of a ball shape.
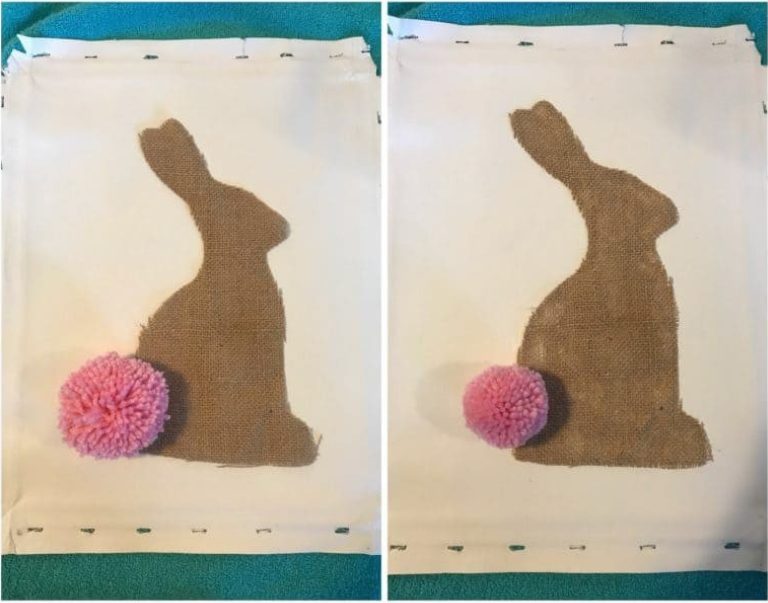
To attach the pom pom I just used a dab of hot glue.
Finish Burlap Bunny Reverse Canvas
To finish the reverse canvas, all we need to do is attach the frame to the canvas.
With the pink bunny tail and the color of the burlap I really liked the natural frame. It matches my spring decor well.
Place the frame on the canvas and make sure you have the bunny located exactly where you want it. Gently flip the canvas and frame over keeping things located how you want them and attach the canvas to the back of the frame.
You can do this with an upholstery stapler or hot glue. Either option works. If you use an upholstery stapler make sure you don’t hit one of the previous staples.
Start in one corner and pull the canvas tight as you attach it.
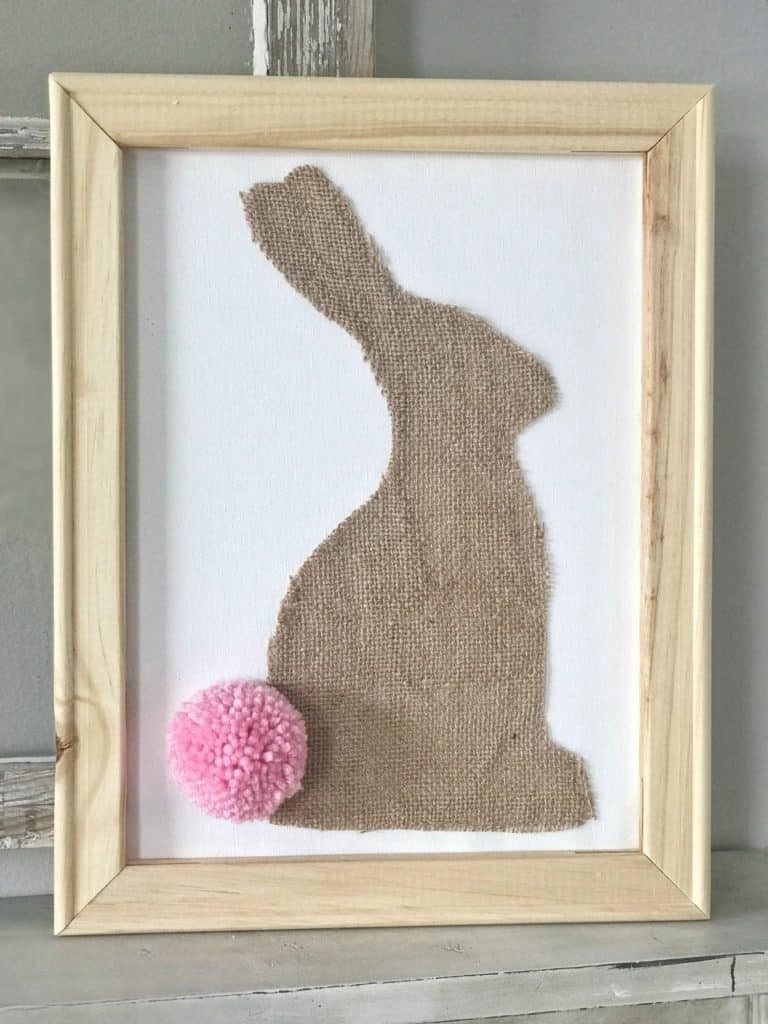
This is a perfect addition to my home decor for Easter and all of spring. I can’t wait to get out the rest of Easter decor.
I hope I’ve inspired you to make your own burlap bunny reverse canvas. If you have any questions leave them in the comments and I’ll be happy to answer them for you.
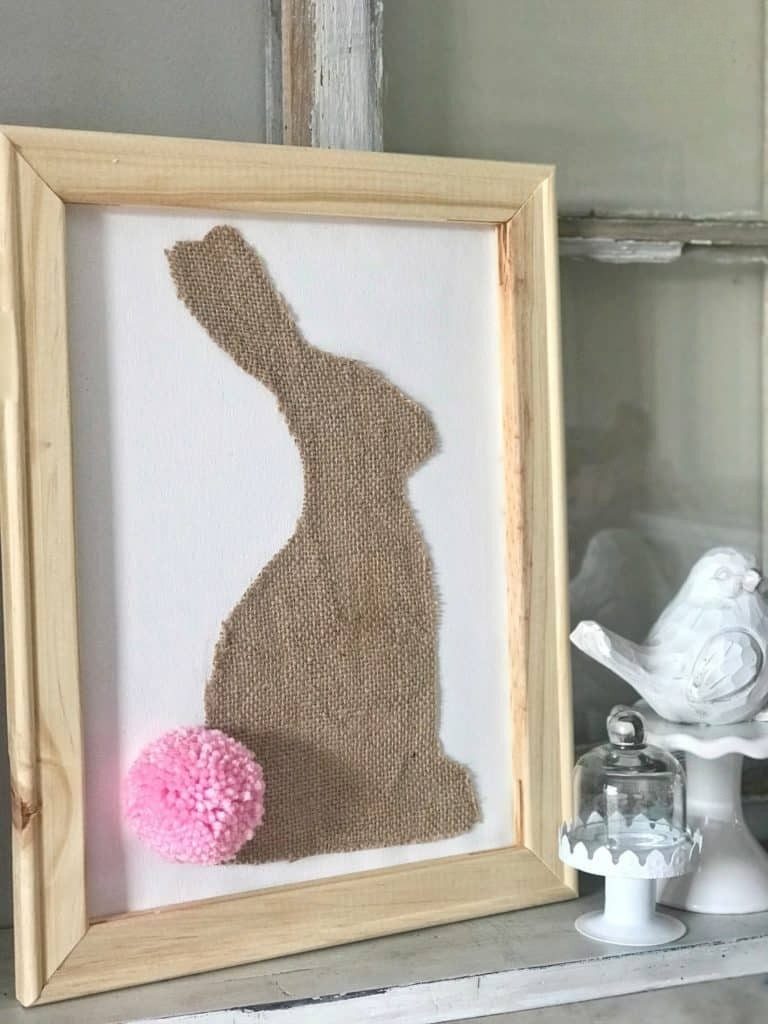
This tutorial was originally found on Creative Housewives and has been updated to include new information.

Thank you for sharing this design. I can’t wait to make it. The directions were awesome and easy to follow. I can’t wait to see what else you come up with to make.
I love hearing this! Thank you so much 🙂 I’m so glad you found it helpful!